
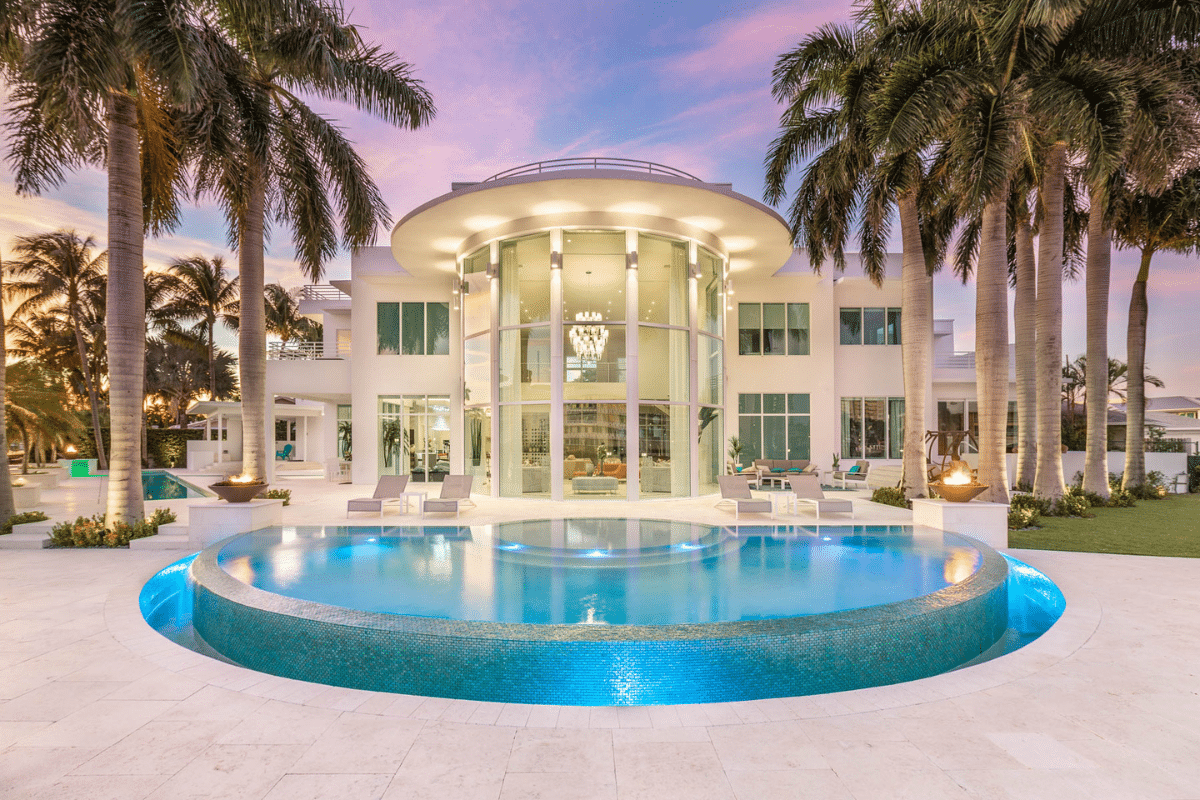
Dreaming of a sparkling backyard oasis in Parkland, Florida? A custom swimming pool is more than just a home improvement; it’s an investment in your lifestyle, providing a private retreat for relaxation, family fun, and entertaining. But the journey from a patch of grass to a pristine pool can seem complex. This comprehensive guide demystifies the process, walking you through every step from initial design to the first refreshing dip.
Understanding the construction process is key to a smooth and successful project. By knowing what to expect, you can confidently partner with the right pool builders parkland and ensure your vision becomes a stunning reality. Let’s dive into the essential stages of building your dream Parkland pool.
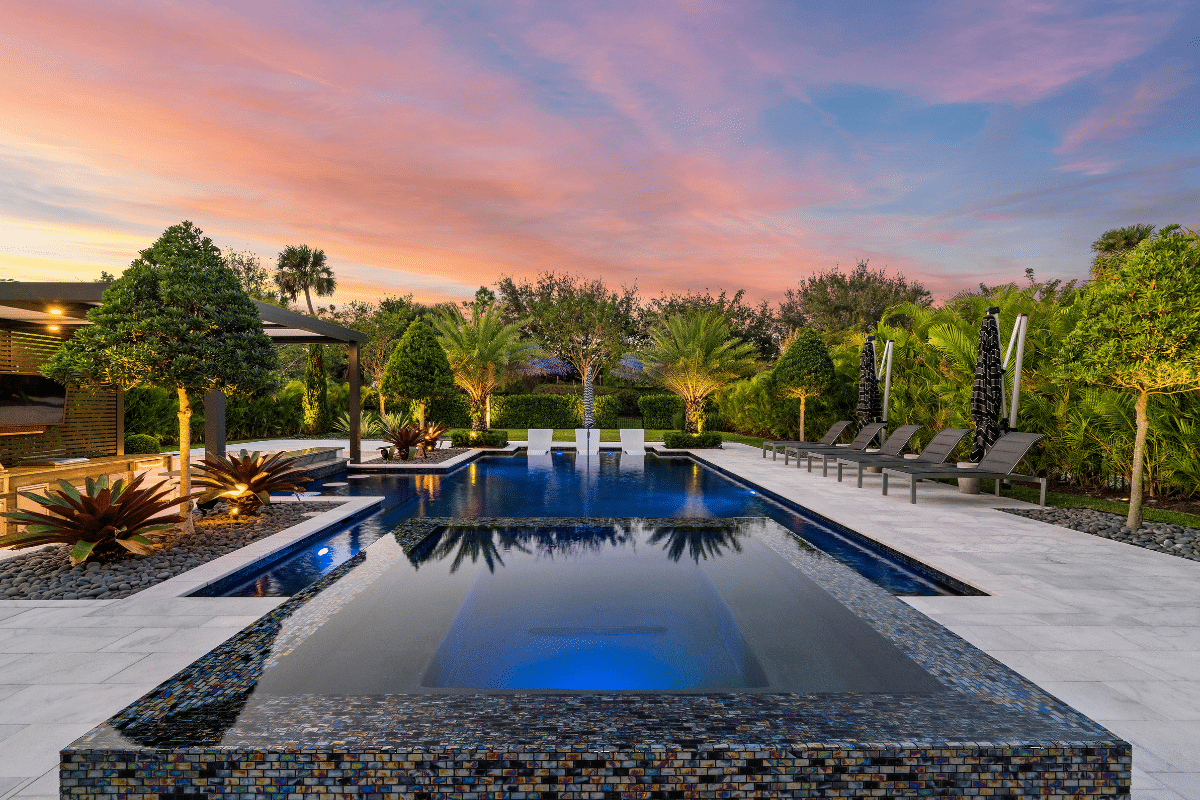
Step 1: Vision and Design – Crafting Your Backyard Oasis
Every great pool begins with a great design. This initial phase is all about translating your ideas into a functional and beautiful plan. Consider how you’ll use your pool: is it for family games, lap swimming, or creating a tranquil, resort-like atmosphere?
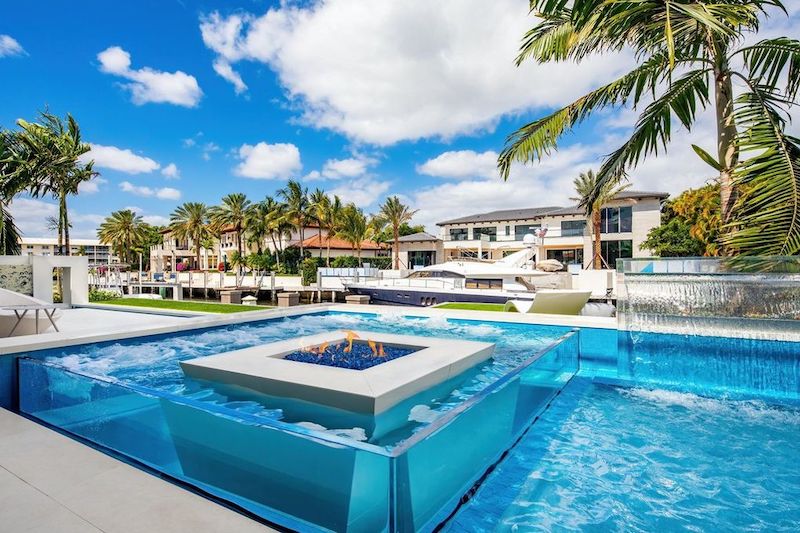
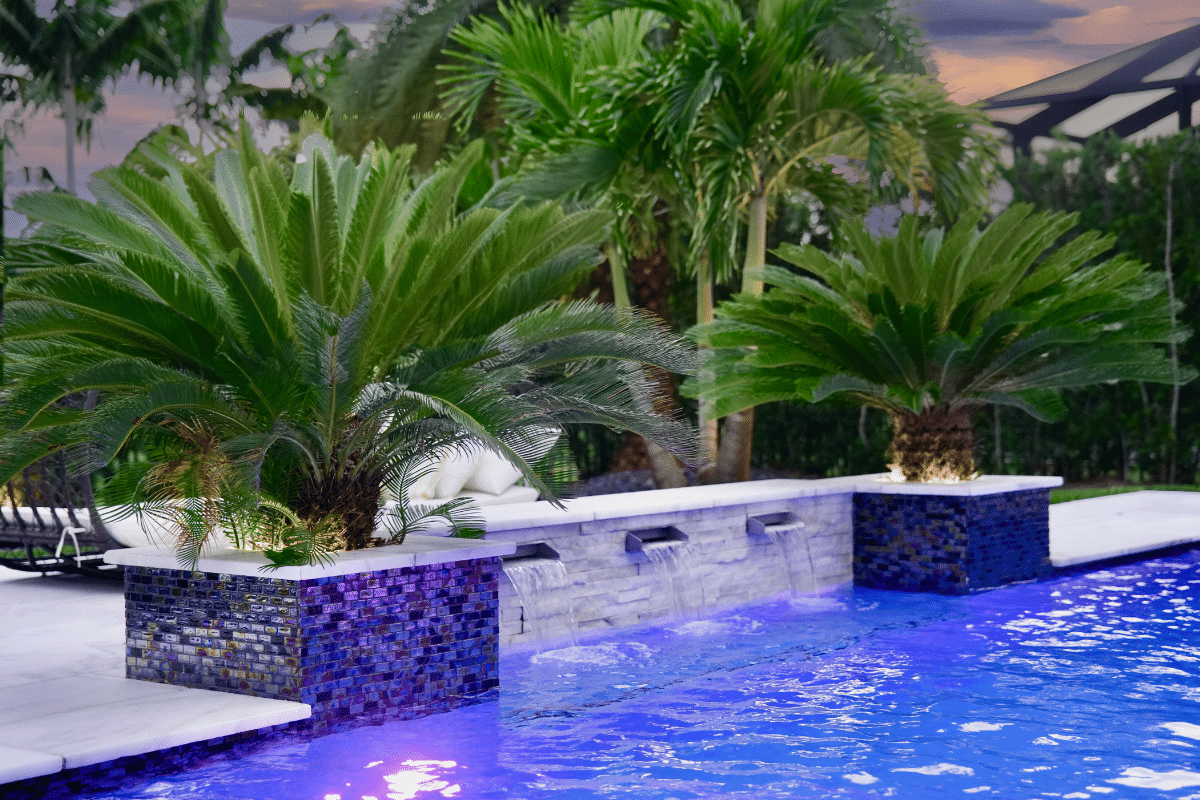
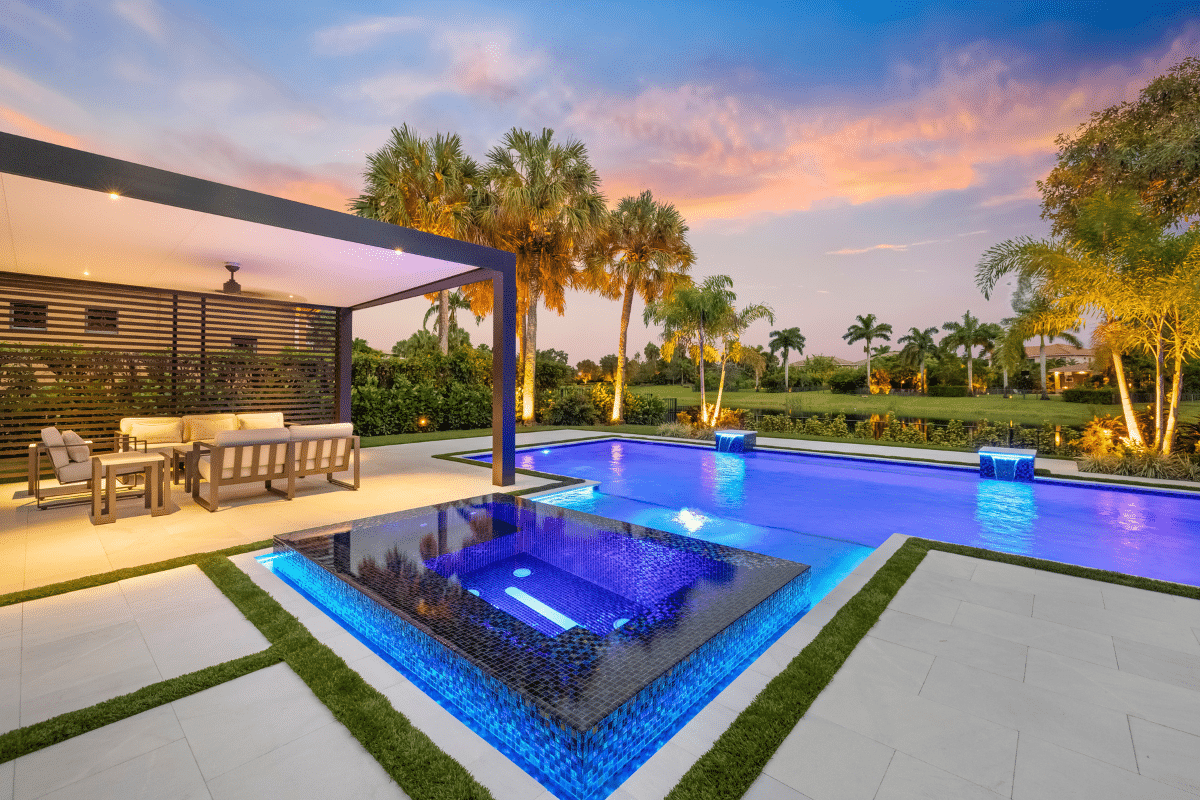
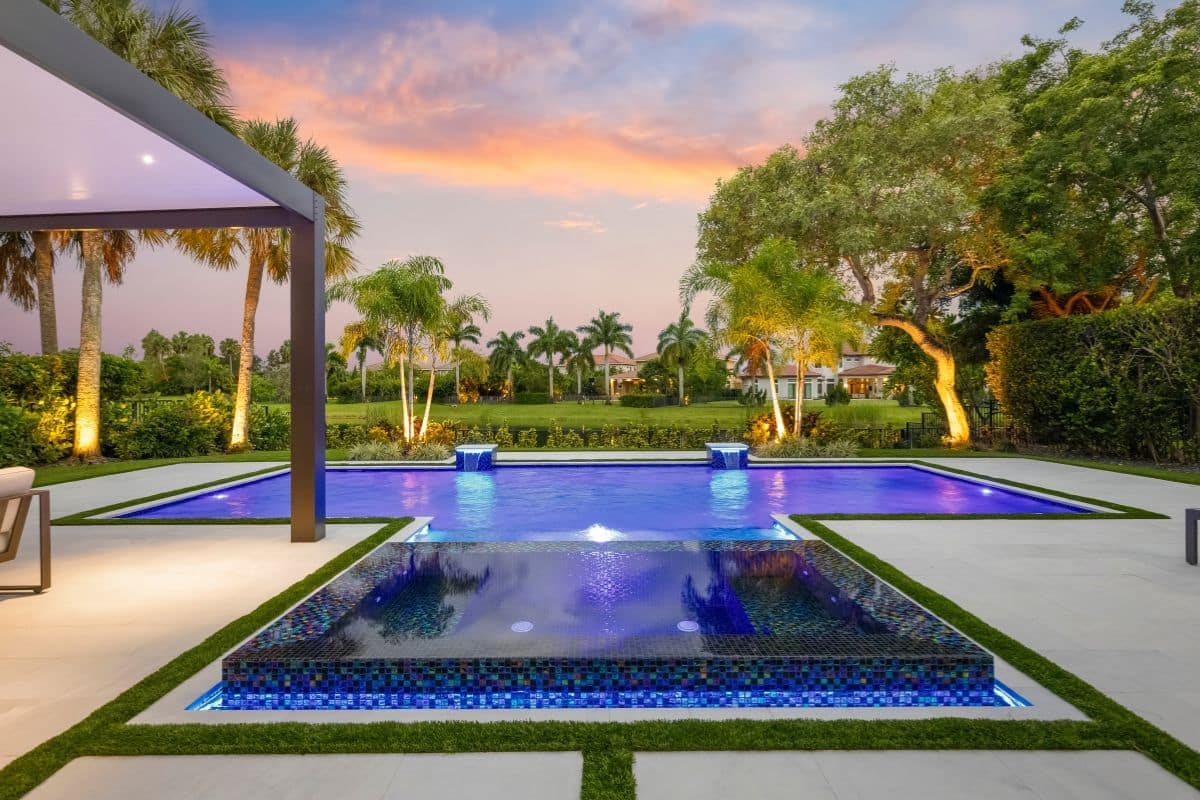
Your design choices will shape the entire project. In South Florida, the most popular choice is a concrete (gunite or shotcrete) pool due to its durability and design flexibility. This allows for virtually any shape, size, and integration of custom features. A reputable pool company parkland will work with you to incorporate elements like:
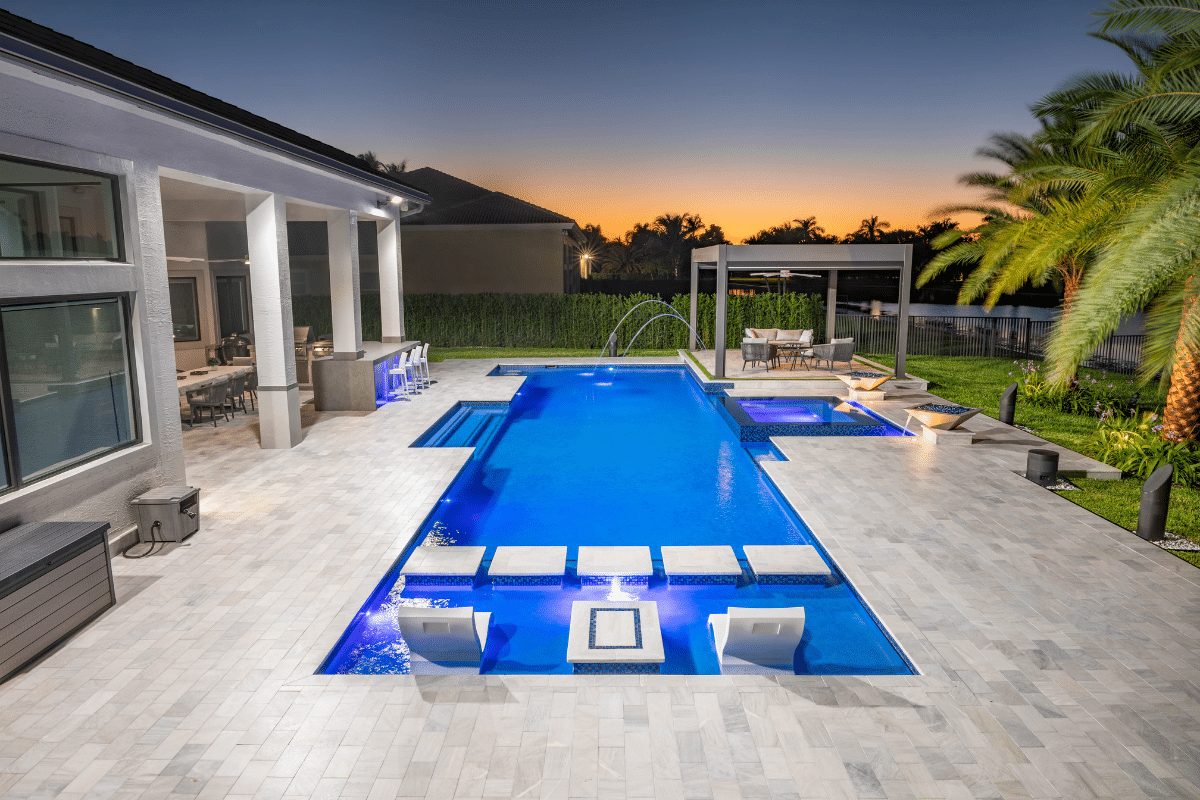
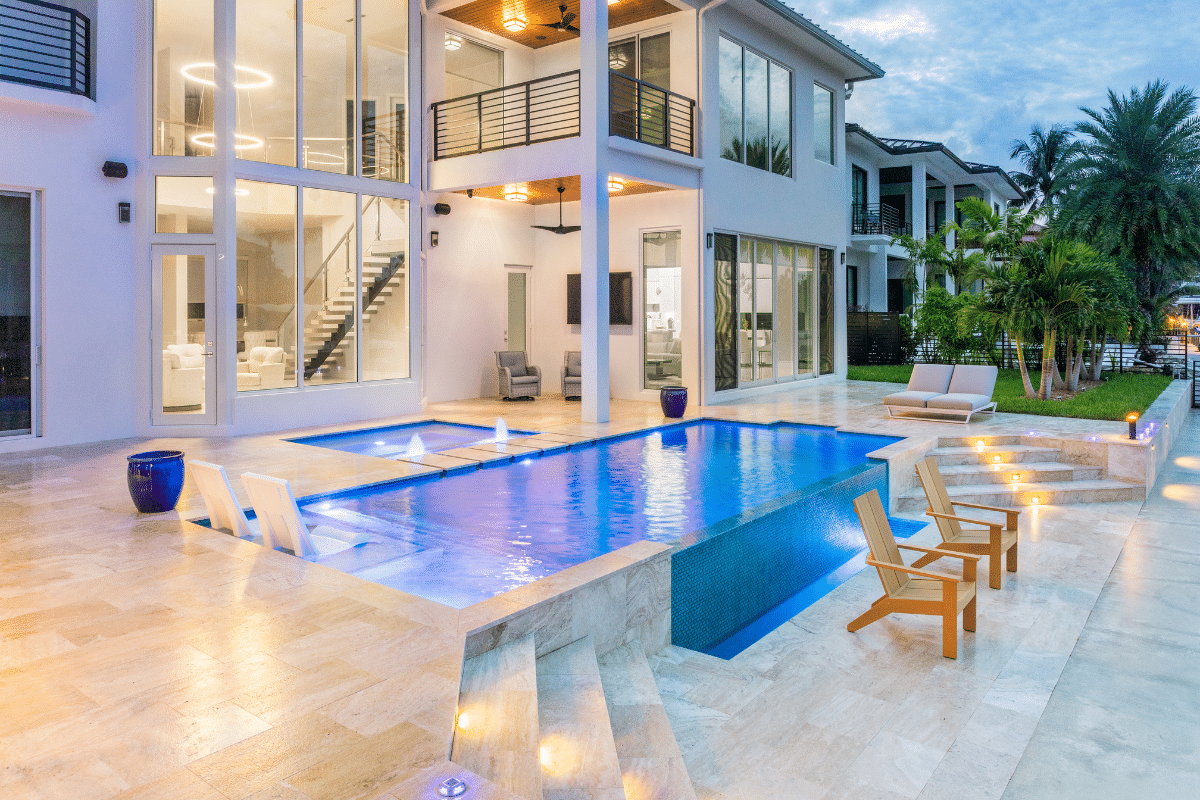
- Sun Shelves: A large, shallow area perfect for lounging chairs and small children.
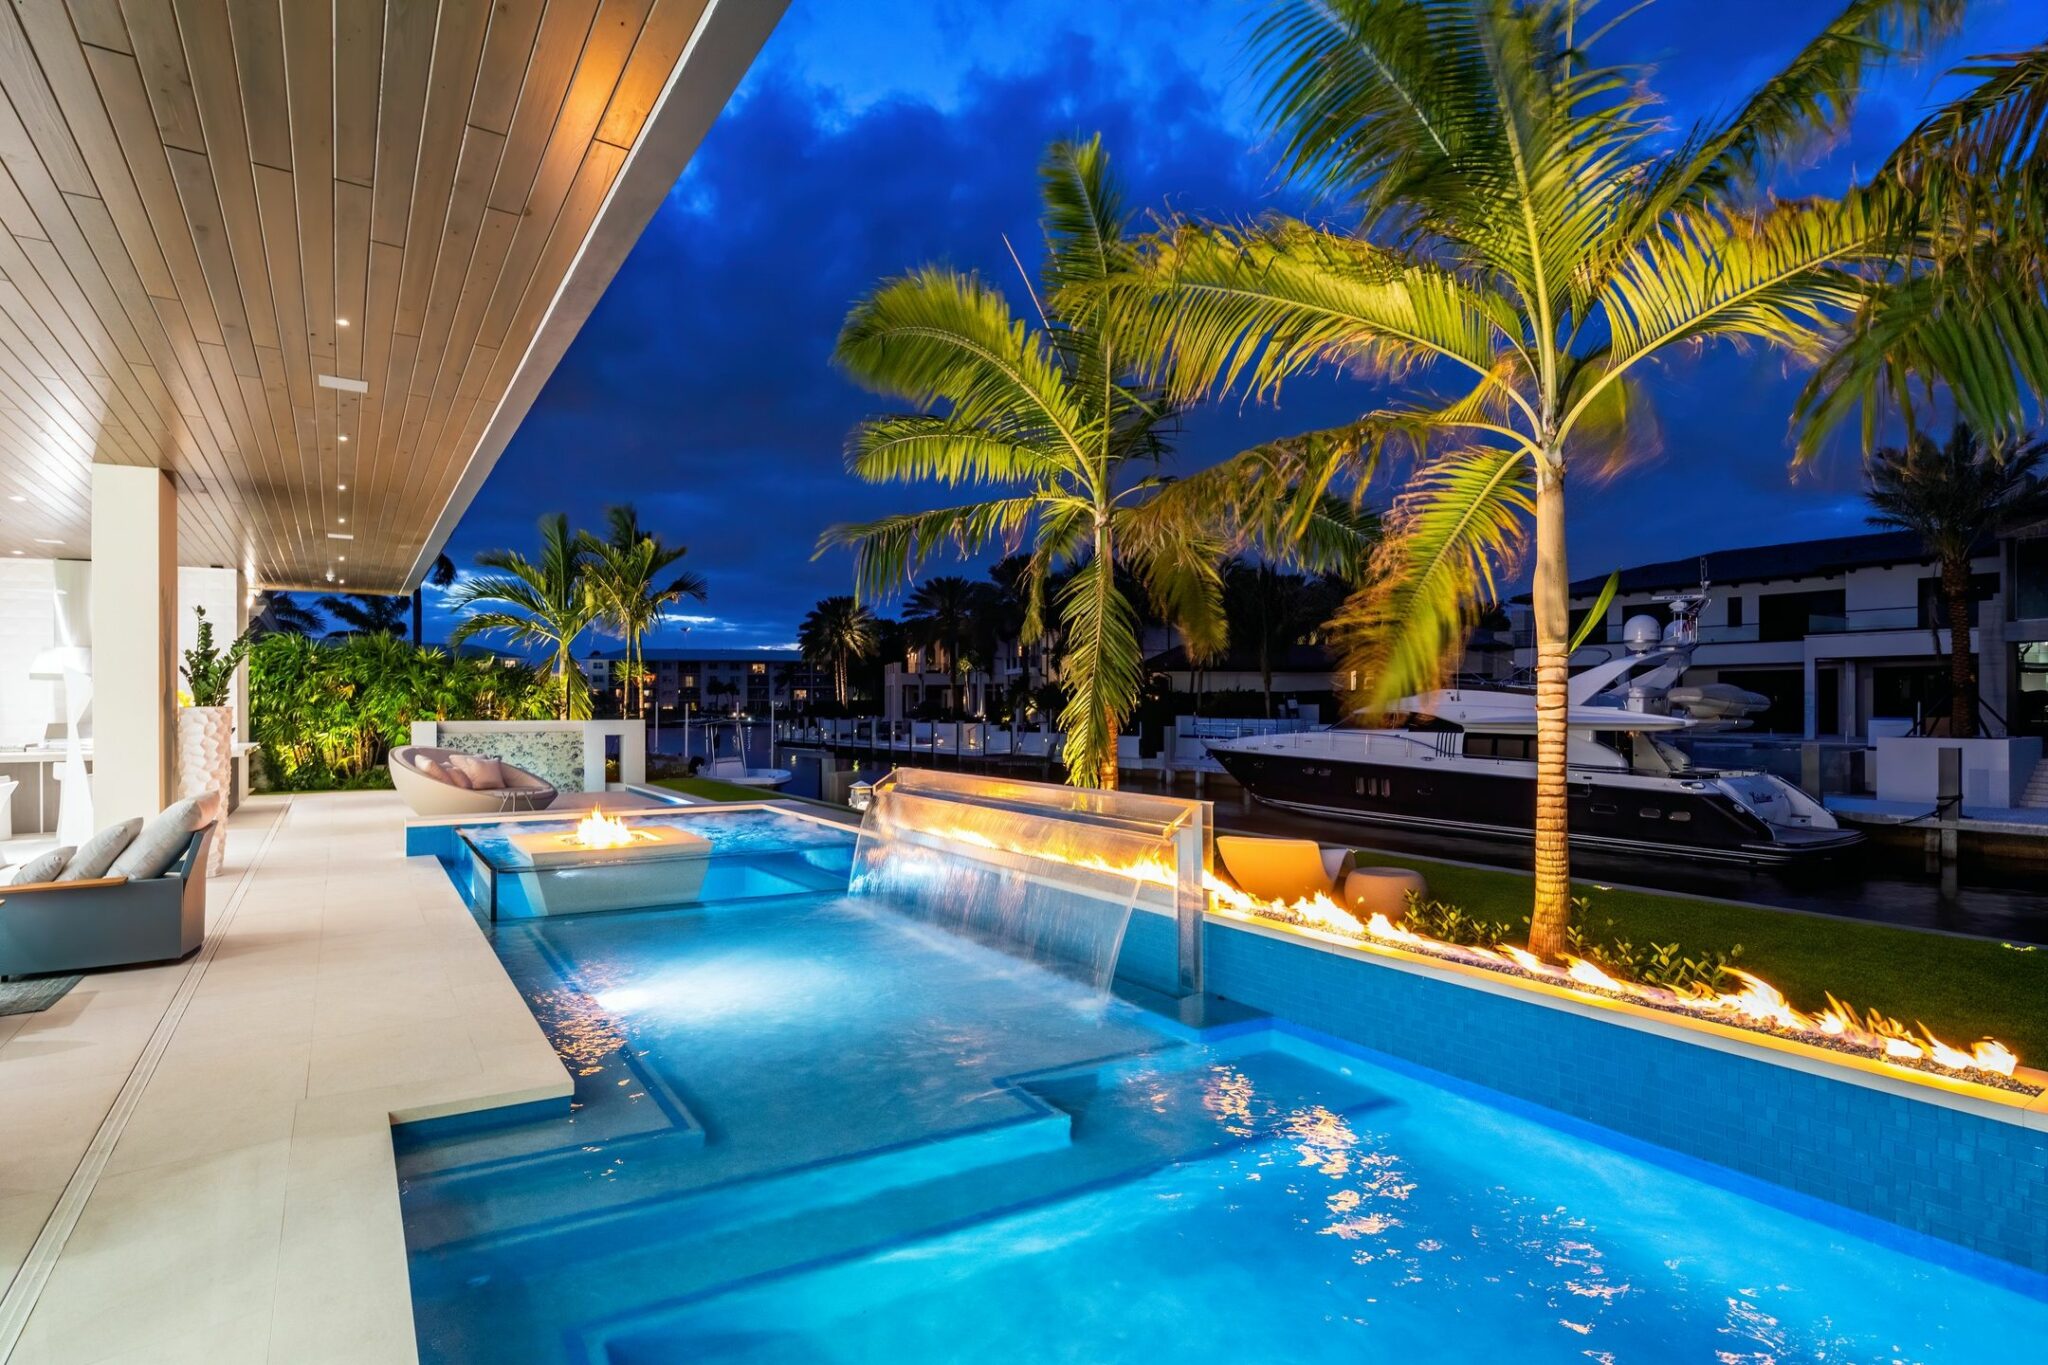
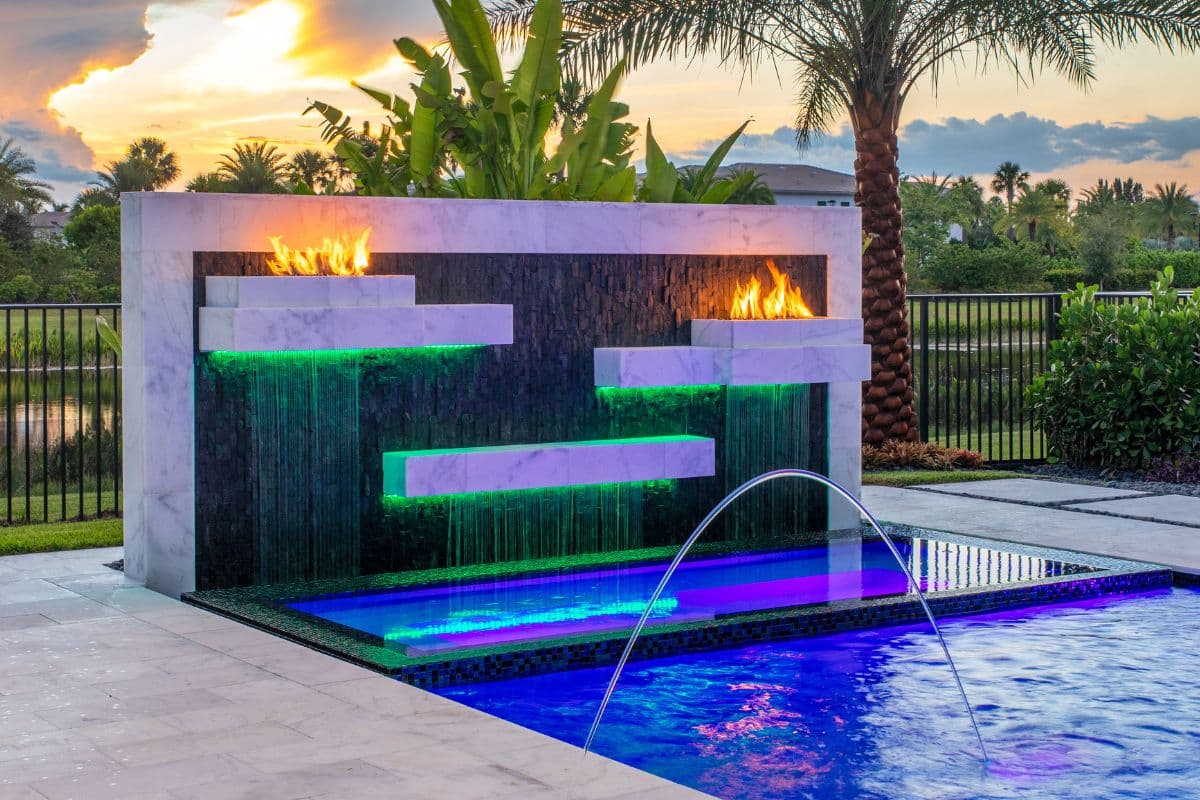
- Water Features: From serene waterfalls to modern bubblers and deck jets.
- Integrated Spa: A seamless hot tub addition for year-round enjoyment.
- LED Lighting: Customizable lighting to set the mood for any evening occasion.
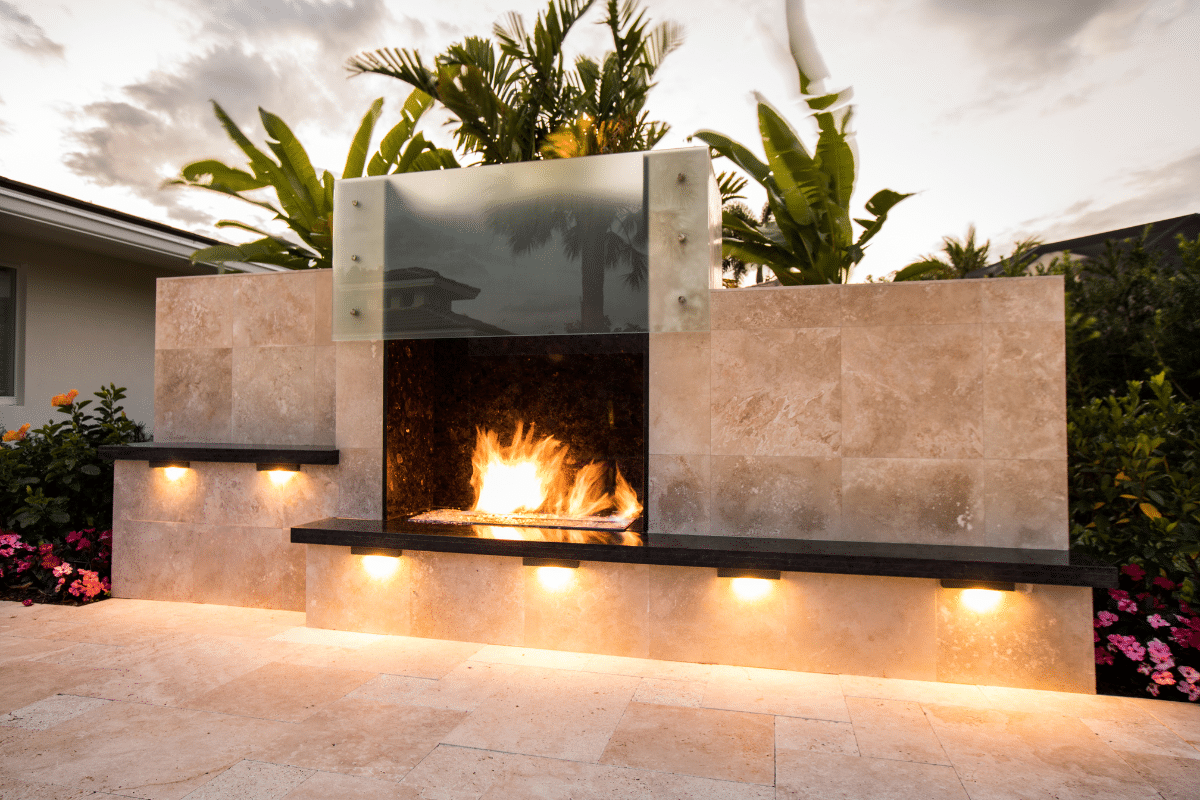
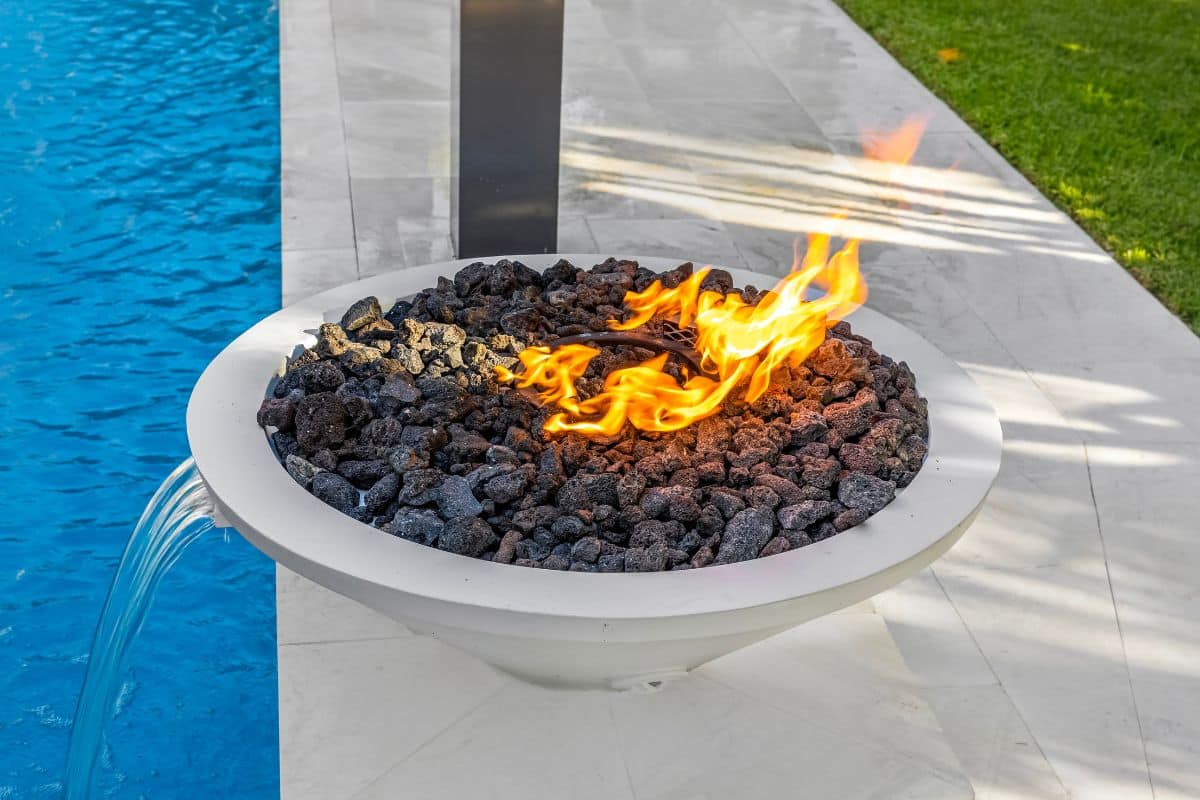
- Fire Pits: A popular feature that adds warmth and a dramatic focal point to your pool area.
This is the time to dream big. An experienced designer will help you balance your wish list with your budget and the specific layout of your Parkland property.
Step 2: Choosing the Right Parkland Pool Builders
This is the most critical decision you’ll make in the entire process. The quality of your builder directly impacts the quality of your finished pool and your overall experience. Don’t just look for the lowest price; look for the best value and a partner you can trust.
When vetting a pool contractor parkland, use this checklist to ensure you’re hiring a true professional:
- License and Insurance: Verify they hold a current Certified Pool/Spa Contractor license from the Florida Department of Business and Professional Regulation (DBPR). They must also carry substantial liability and workers’ compensation insurance.
- Local Experience: A builder with deep roots in Parkland and Broward County understands local soil conditions, permitting processes, and HOA requirements.
- Portfolio and References: Ask to see a gallery of their completed work and speak with recent clients. A confident builder will be happy to provide references.
- Detailed Contracts: Avoid one-page quotes. Insist on a comprehensive, written contract that details every phase of construction, materials used, payment schedule, and project timeline.
- Clear Communication: Choose a company that is responsive, professional, and makes you feel comfortable asking questions.
The right team will guide you through every step, making the construction of your parkland pool an exciting and stress-free journey.

Step 3: Permitting and Site Preparation
Before any dirt is moved, your project must be approved by the City of Parkland and/or Broward County. This involves submitting detailed engineering plans for review. A professional pool contractor parkland will manage the entire permitting process on your behalf, navigating the complexities of local building codes.
Once the permit is issued, site preparation begins. This includes marking out the pool’s location in your yard, identifying and flagging underground utility lines, and ensuring there is clear access for excavation equipment. This may involve the temporary removal of a fence section.
Step 4: The Construction Phases – Bringing Your Pool to Life
This is where your vision starts to take physical form. The construction process is a carefully orchestrated sequence of specialized trades working together.
Excavation: Heavy machinery will dig the hole for your pool, carefully sculpting the different depths and features according to the design plan.
Steel and Plumbing: A web-like cage of steel rebar is installed to create the structural skeleton of your pool. Simultaneously, the network of pipes for circulation, filtration, and water features is strategically laid out.
Gunite Application: This is a major milestone. A specialized crew sprays a high-velocity mixture of sand, cement, and water over the steel frame to form the dense, rock-solid concrete shell of your pool. The shell will then need to cure for several weeks.
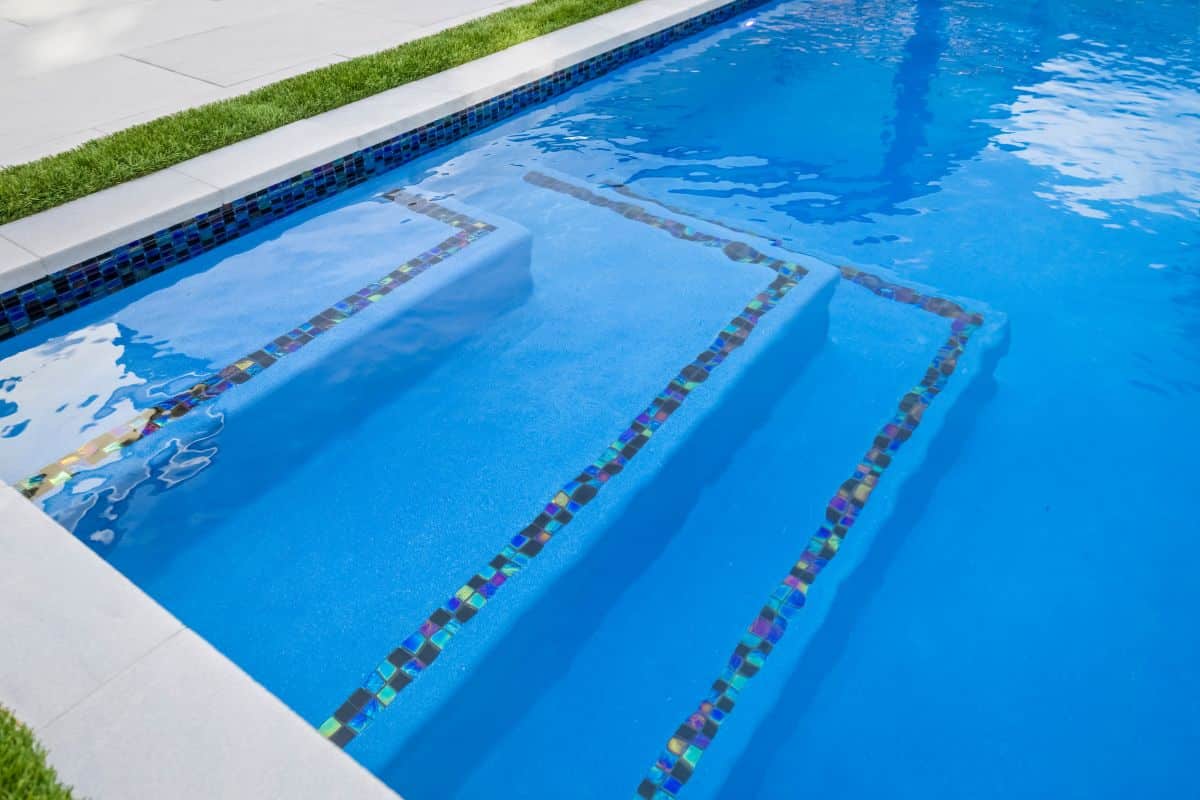
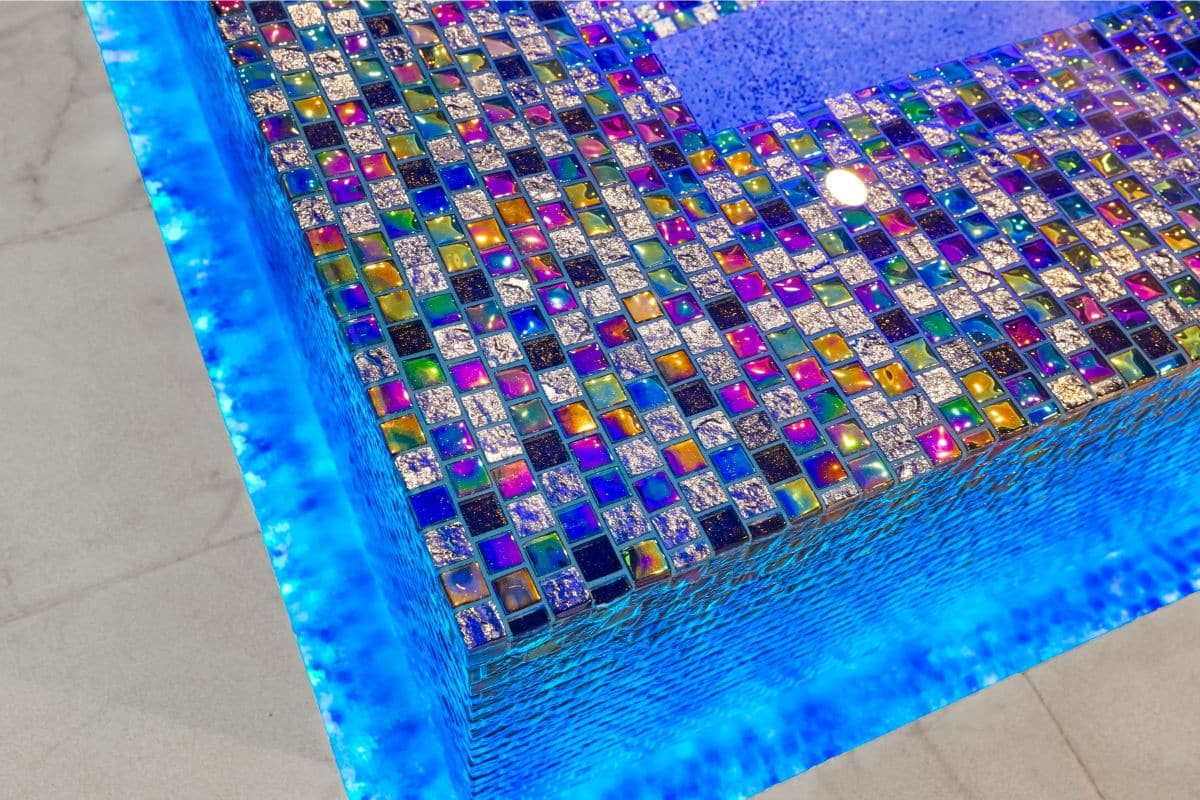
Tile and Coping: Next, skilled masons install the waterline tile and the coping, which is the stone or concrete edge that borders the top of the pool shell. This is where your design’s personality begins to shine through.
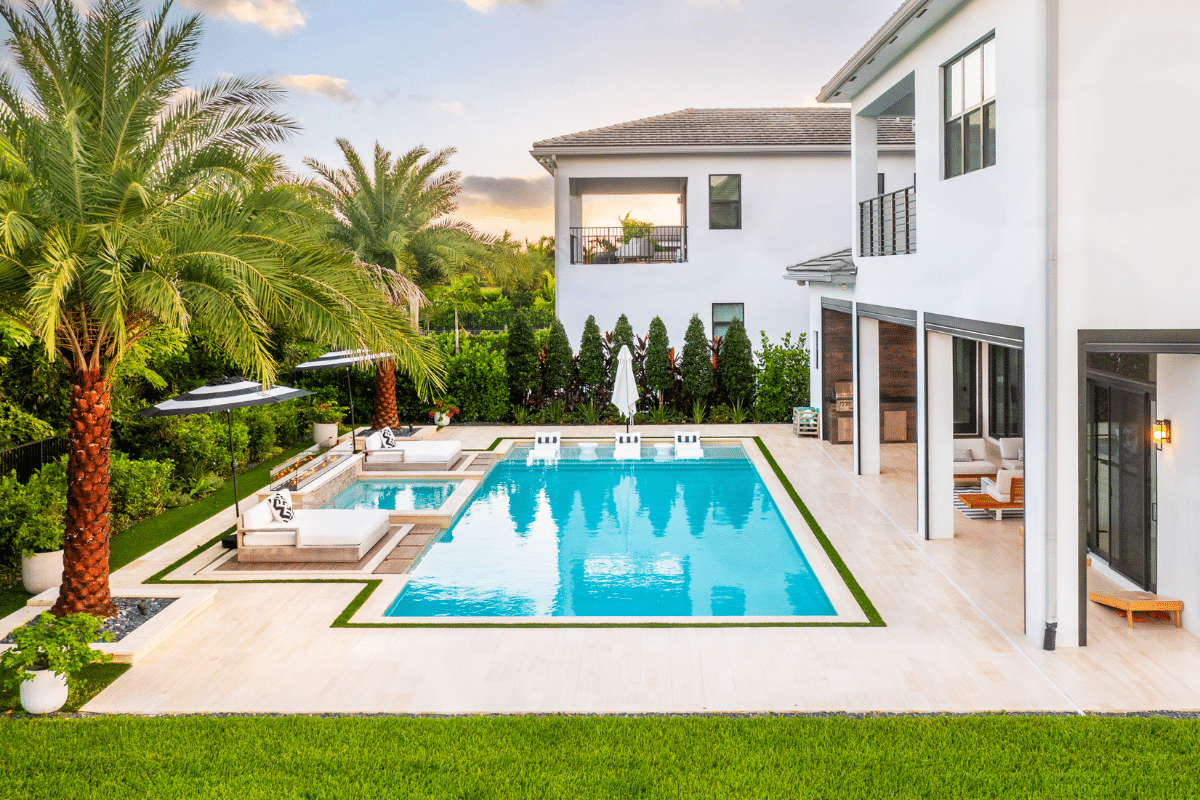
Decking and Patio: The area surrounding your pool is just as important as the pool itself. Whether you’ve chosen travertine pavers, brushed concrete, or another material, this is when the hardscape is installed, creating the foundation for your outdoor living space.
Interior Finish: The final waterproof layer is applied to the pool’s interior. Popular choices in Florida include durable and beautiful finishes like Pebble Tec, Pebble Sheen, or Diamond Brite, which come in a wide array of colors to give your water its signature hue.
Step 5: Equipment Installation and Final Touches
While the aesthetic work is being completed, the “engine” of your pool is installed. The equipment pad, typically placed in an out-of-the-way location, houses the essential components that keep your water clean and clear.
Key equipment includes:
- Pump: Circulates the water through the filtration system. Energy-efficient variable-speed pumps are the modern standard.
- Filter: Removes debris from the water. Options include cartridge, sand, or D.E. filters.
- Heater: An electric heat pump or gas heater can extend your swimming season significantly.
- Sanitizer: A saltwater chlorine generator is a popular, low-maintenance choice that creates softer-feeling water.
This is also when lighting, automation systems, and any required safety features like fences and alarms are installed to meet local code requirements.
Step 6: Filling, Balancing, and “Pool School”
The most exciting day has arrived! After a final clean-up, the pool is filled with water. Your pool company parkland will then begin the crucial initial chemical start-up, carefully balancing the water chemistry to protect the new interior finish and ensure it’s safe for swimming.
Once the water is balanced and the equipment is running perfectly, your builder will conduct a “Pool School.” This is a comprehensive orientation where they walk you through every aspect of your new parkland pool, from operating the pump and filter to basic chemical testing and maintenance. This empowers you to care for your investment with confidence.
Your Parkland Paradise Awaits: Partner with the Best
Building a new swimming pool is a significant undertaking, but it’s also one of the most rewarding investments you can make in your home and family’s happiness. By understanding the process and, most importantly, choosing a highly-qualified and trustworthy builder, you can ensure a seamless experience from start to finish.
Your dream of poolside afternoons and memorable evenings under the stars is closer than you think. When you’re ready to take the first step, partner with the premier pool builders parkland who have the experience, craftsmanship, and dedication to bring your vision to life. Contact us today for a no-obligation design consultation and let’s start building your personal paradise.


0 Comments